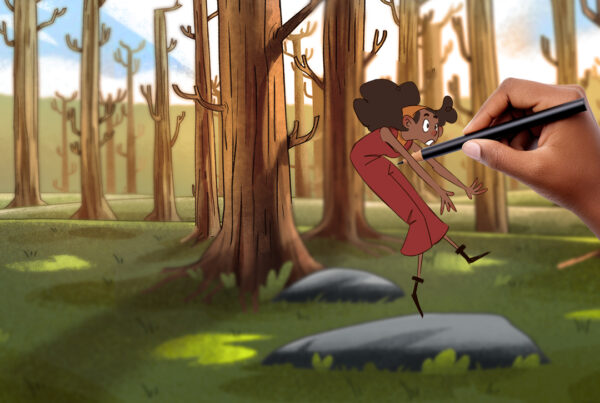
A flipbook is an early form of animation that existed long before more complex tools like zoetropes, phenakistoscopes, magic lanterns, and even high-definition CGI. In this article, you will learn how to make a flipbook in a fun and easy way by following some simple steps.
What Is a Flipbook?
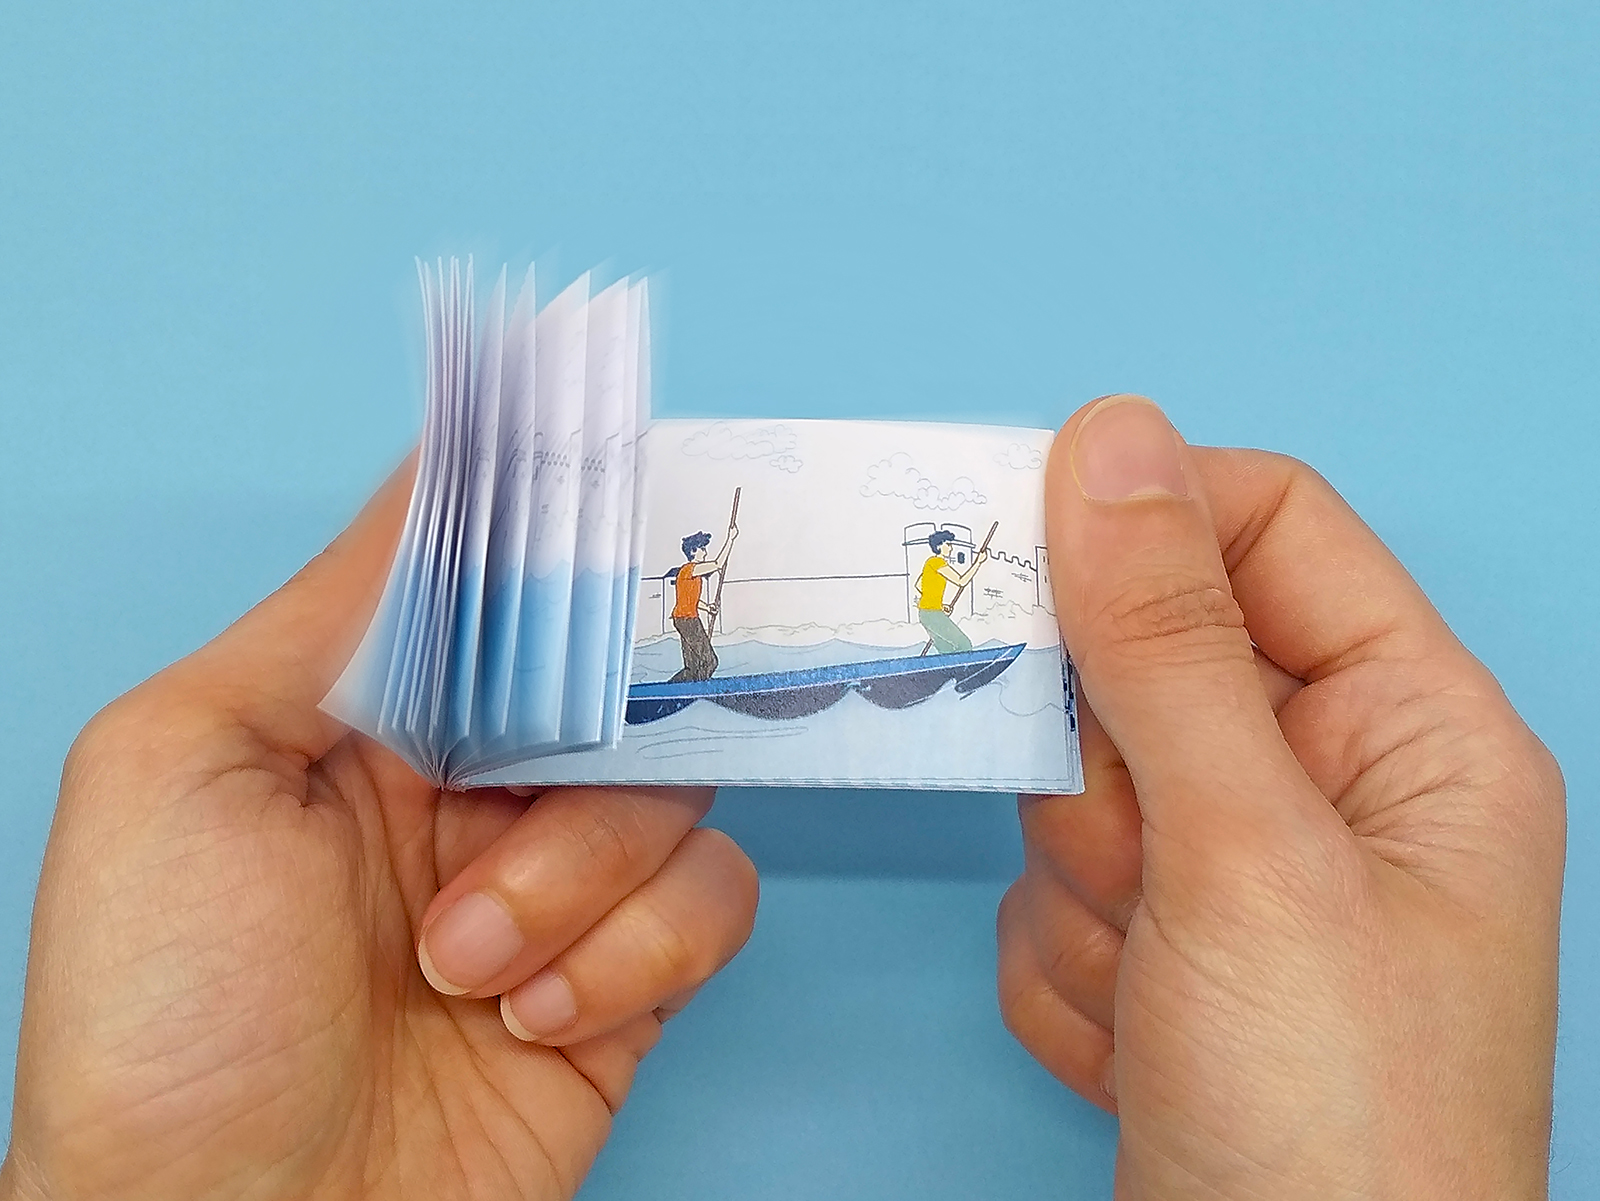
An animation flipbook is a small book of drawings conveying a series of pictures in progressing forms of movement so that when the pages are flipped in rapid succession, they animate a scene or create the illusion of movement. Flipbooks can be hand-drawn or digitally created, and produce the same effect as watching a motion picture.
History of Flipbook Animation.
Flipbook animation has been around for over 150 years. Pierre-Hubert Desvignes is credited with creating a version of the flipbook around 1860, though John Barnes Linnett, a British lithograph printer, was the first to patent the design. Linnett’s flipbook debuted in 1868 and was called the kineograph, which is Latin for “moving picture.”
Shortly after the flipbook’s debut, English-American photographer Eadweard Muybridge developed a way to make his own flipbook by setting up a camera rig to take multiple pictures at rapid speed, that when viewed in sequence produced a moving image.
The flipbook continued to evolve, with American inventor Herman Casler developing a mechanical version called the mutoscope, which used a Rolodex-like mechanism rather than a book to produce the animation. Flipbooks set the groundwork for film as they projected moving scenes on paper, which eventually evolved into moving scenes projected onto a screen—what we know as film today.
5 Steps to Make a Flipbook Animation
To make a flipbook, you can either use digital flipbook software to make a video, or you can attempt your own DIY animated flipbook using the steps below:
- Get a thick stack of paper. You’ll need a thick stack of small pieces of paper, like sticky notes, notepad paper, or index cards—the kind of paper that is conducive to page-flipping. Most standard flipbooks contain approximately 60 images, but you can use as many as you need to tell your story.
- Start at the bottom right. The last sheet of paper in your stack will be the first image of your flipbook. Use a pencil to draw your image towards the bottom right of your paper stack so you can see it when you start to flip. If you draw your image too close to the spine of your book, it won’t be visible while flipping. If this is your first flipbook, you may want to keep the illustration simple and the movements small, like a stick figure walking or a ball bouncing.
- Draw the next image. The card on top of your bottom sheet will be your second sequence. Draw the sequence in the same area as the previous sequence, but change its movement slightly. You can place a lightbox beneath the stack of paper to see the initial image better, creating a tracing paper effect.
- Continue the process. Each subsequent piece of paper should contain a slightly changed image of the one you drew before so that the images form fluid, consecutive movements—images should not jump across the page or suddenly move out of sequence.
- Polish and enhance. After illustrating the animation sequence on your sheets of paper, you can enhance it with markers, ink, or other coloring tools. Keep your designs consistent to present a continuous sequence as you flip through the book.